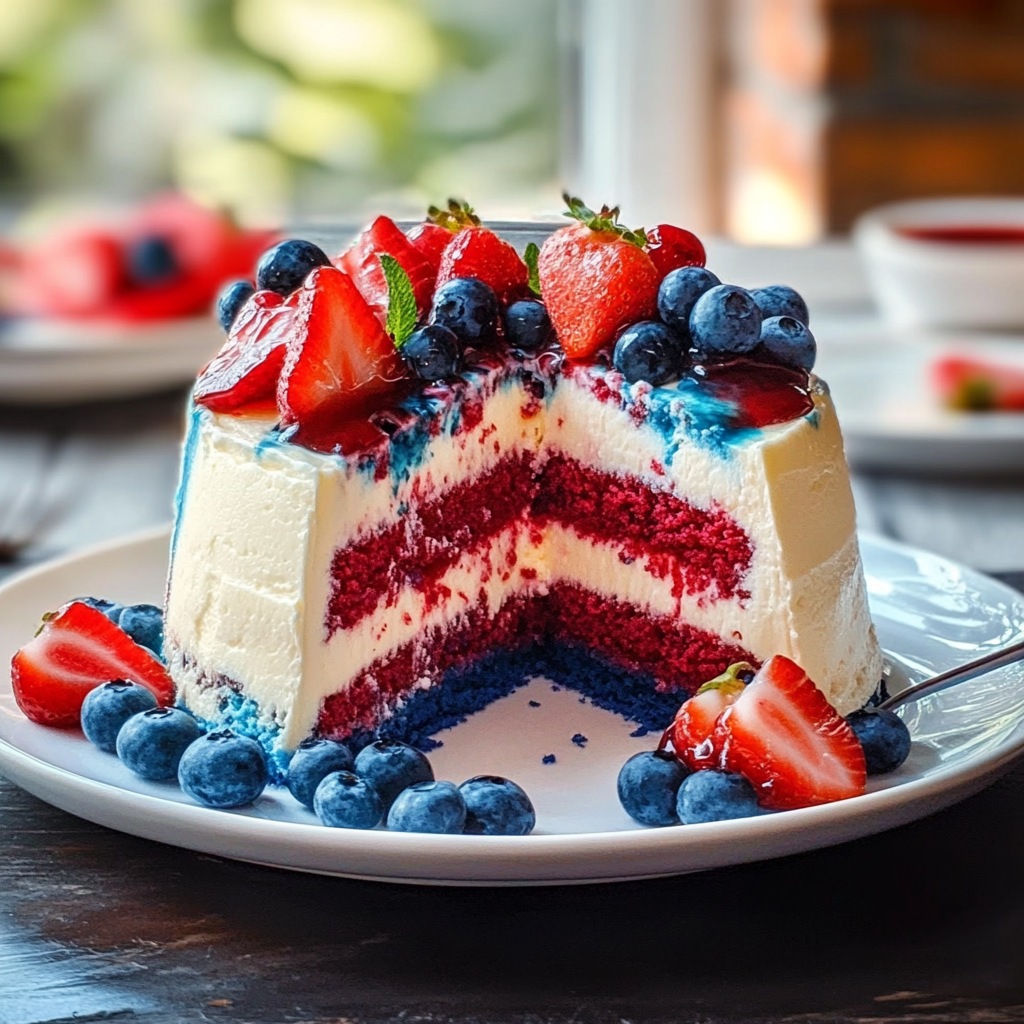
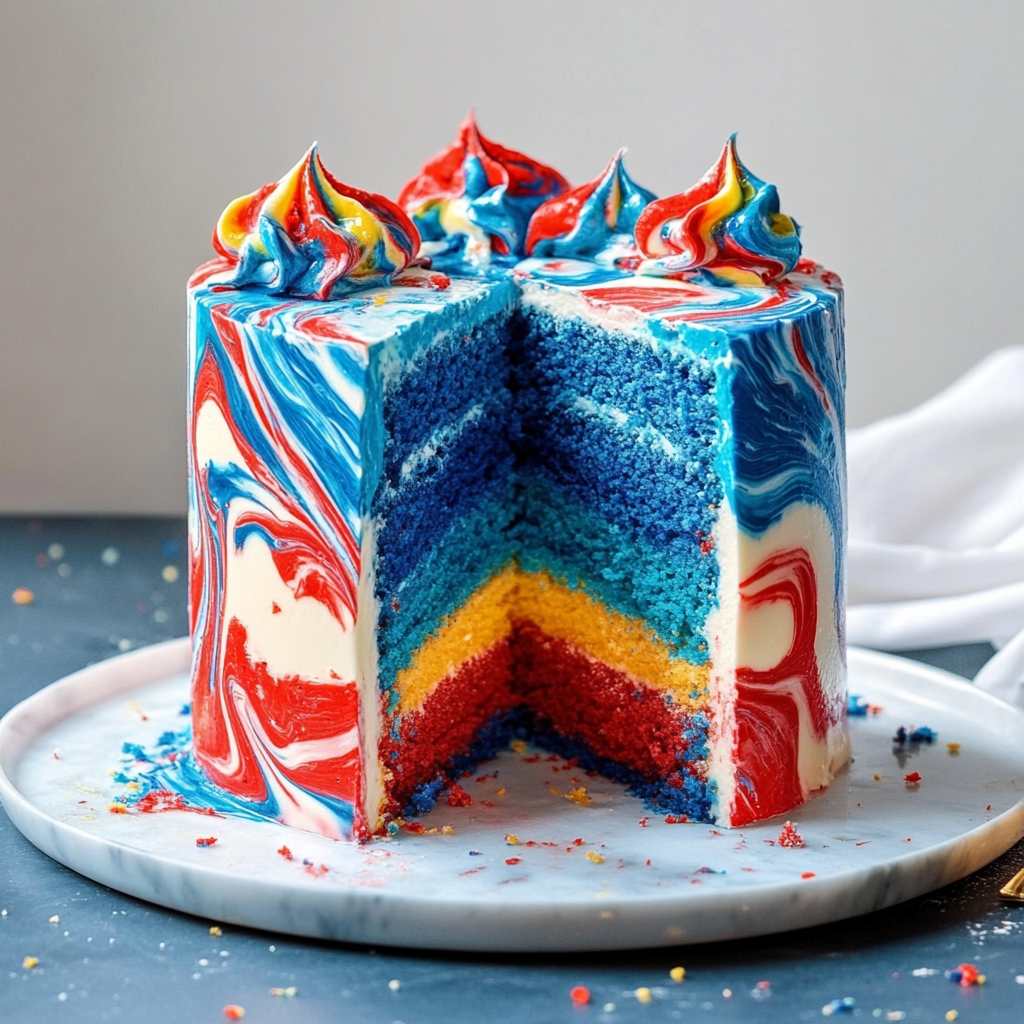
Red White & Blue Marble Cake is a vibrant, eye-catching dessert that brings together the sweetness of vanilla and the tartness of berries in every bite. Imagine cutting into a slice and revealing swirls of red, white, and blue that remind you of summer picnics and fireworks lighting up the night sky. pink lemonade slush The aroma wafts through the kitchen, each layer promising to delight your taste buds.
This cake isn’t just a feast for the eyes; it’s also a treasure trove of flavors. With every slice, you’re transported back to family gatherings where laughter mingles with the sweet scent of freshly baked goods. Perfect for Fourth of July celebrations or any occasion that calls for a splash of color and joy, this cake will have everyone asking for seconds—maybe even thirds!
Why You'll Love This Recipe
- This Red White & Blue Marble Cake is incredibly easy to whip up, making it perfect for both novice bakers and seasoned pros.
- The combination of flavors creates a delightful burst in your mouth, while its stunning appearance makes it an impressive centerpiece.
- You can serve it at barbecues or birthday parties, adapting it to suit any festive occasion.
- It’s versatile enough to be enjoyed as dessert or paired with morning coffee!
Ingredients for Red White & Blue Marble Cake
For more inspiration, check out this Ultimate Chocolate Cake Recipe recipe.
Here’s what you’ll need to make this delicious dish:
- All-Purpose Flour: This is your base ingredient, providing structure and texture to the cake.
- Sugar: Granulated sugar adds sweetness and helps create that lovely golden crust.
- Baking Powder: This leavening agent ensures your cake rises beautifully.
- Salt: Just a pinch enhances all the other flavors in the batter.
- Unsalted Butter: Make sure it’s at room temperature for optimal mixing; this gives richness to your cake.
- Eggs: They provide moisture and help bind everything together.
- Vanilla Extract: A must-have for flavoring; use pure vanilla extract for the best results.
- Milk: It adds moisture to the batter; you can also use buttermilk for extra flavor.
- Red Food Coloring: To create those vibrant swirls; gel food coloring works best!
- Blue Food Coloring: Same as above; you want those stripes to pop!
- Fresh Berries (Optional): Strawberries and blueberries are great for decoration on top!
The full ingredients list, including measurements, is provided in the recipe card directly below.
How to Make Red White & Blue Marble Cake
Follow these simple steps to prepare this delicious dish:
Step 1: Preheat Your Oven
Preheat your oven to 350°F (175°C). Prepare two round cake pans with nonstick spray or butter and flour them lightly so your masterpiece won’t stick.
Step 2: Mix Dry Ingredients
In a large bowl, combine all-purpose flour, baking powder, and salt. Whisk until well blended—this not only mixes but also aerates your dry ingredients.
Step 3: Cream Butter and Sugar delicious peach melba ice cream. no-bake peach cheesecake jars refreshing peach ice cream floats.
In another bowl, cream together unsalted butter and granulated sugar until light and fluffy. This should take about three minutes with an electric mixer because nobody wants an arm workout while baking!
Step 4: Add Eggs and Vanilla
Add eggs one at a time to the butter-sugar mixture, mixing well after each addition. Stir in vanilla extract—oh boy, smell that rich aroma!
Step 5: Combine Wet and Dry Ingredients
Gradually add your dry ingredient mixture into the wet ingredients while alternating with milk. Begin and end with dry ingredients—this ensures a smooth batter without lumps.
Step 6: Color Your Batter
Divide your batter evenly into three bowls. Leave one bowl plain (white), then add red food coloring to one bowl until you achieve your desired shade. Repeat this process with blue food coloring in the third bowl.
Step 7: Create The Marble Effect
Spoon dollops of each colored batter into your prepared pans randomly. Use a skewer or knife gently swirl them together—you want those beautiful marbled patterns without overmixing!
Step 8: Bake
Place the pans in your preheated oven and bake for about 25-30 minutes or until a toothpick inserted in the center comes out clean.
Step 9: Cool Down
Once baked, let them cool in their pans for about ten minutes before transferring them onto wire racks to cool completely.
Serving suggestion: Decorate with fresh berries on top if desired! Slice yourself a piece (or two) because you absolutely deserve it after all that hard work!
You Must Know
- This delightful Red White & Blue Marble Cake isn’t just a feast for the eyes; it’s also a breeze to make.
- The vibrant layers add fun to any celebration, and you can easily adjust flavors to suit your taste buds.
- Perfect for summer picnics but versatile enough for year-round indulgence.
Perfecting the Cooking Process
To achieve that stunning marble effect, start by preparing your red and blue batters separately. Once they’re ready, alternate spoonfuls into the cake pan before swirling them together gently with a knife. Bake until golden perfection beckons.
Add Your Touch
Feel free to mix things up by adding lemon zest or almond extract to the batter for an extra flavor kick. You could also substitute vanilla frosting with cream cheese frosting for a tangy twist that pairs wonderfully with the cake’s sweetness.
Storing & Reheating
Store any leftover Red White & Blue Marble Cake in an airtight container at room temperature for up to three days. If you’re feeling nostalgic, gently reheat slices in the microwave for about 10 seconds before serving to bring back that fresh-baked goodness.
Chef's Helpful Tips
- To ensure your marble cake is a hit, remember that room temperature ingredients blend better, creating a smoother batter.
- Don’t overmix when swirling; less is more for that beautiful marbled look.
- Finally, let the cake cool completely before frosting to avoid melting.
I remember the first time I made this Red White & Blue Marble Cake for a Fourth of July BBQ. My friends went wild over it—one even declared it “the best cake ever.” It was a sweet moment filled with laughter and cake crumbs!
FAQs:
What ingredients do I need for Red White & Blue Marble Cake?
To make a delicious Red White & Blue Marble Cake, you will need all-purpose flour, sugar, baking powder, salt, unsalted butter, eggs, milk, and vanilla extract. For the red and blue colors, you will also need red and blue food coloring. This combination of ingredients creates a soft and moist cake that is perfect for celebrations. Ensure you have these essentials ready before starting your baking adventure. For more inspiration, check out this Delicious Easter Cookies recipe.
How long does it take to bake Red White & Blue Marble Cake?
Baking the Red White & Blue Marble Cake typically takes about 25 to 30 minutes at 350°F (175°C). It’s crucial to preheat your oven beforehand for even cooking. Always check doneness by inserting a toothpick into the center of the cake; if it comes out clean or with a few crumbs attached, your cake is perfectly baked. Allow it to cool completely before frosting.
Can I use different colors for the marble cake?
Absolutely! While the traditional Red White & Blue Marble Cake is themed for holidays like Independence Day, you can experiment with any colors that suit your occasion. Consider using green for St. Patrick’s Day or pastels for Easter celebrations. Just be sure to use gel food coloring for vibrant hues without altering the cake’s texture.
How do I store leftover Red White & Blue Marble Cake?
To store leftover Red White & Blue Marble Cake, wrap it tightly in plastic wrap or place it in an airtight container. This will keep the cake fresh for up to four days at room temperature. If you want to extend its shelf life further, consider refrigerating or freezing slices. Just ensure they are well-wrapped to prevent freezer burn.
Conclusion for Red White & Blue Marble Cake:
In conclusion, the Red White & Blue Marble Cake is a delightful dessert that adds color and flavor to any celebration. By following simple steps and using basic ingredients, you can create this stunning cake that impresses guests. Remember to pay attention to baking times and storage methods to enjoy this treat longer. Whether it’s a holiday gathering or a birthday party, this cake is sure to be a hit!
Red White & Blue Marble Cake

Red White & Blue Marble Cake is a festive dessert that dazzles with its vibrant layers of red, white, and blue. This cake combines the sweetness of vanilla and the tartness of berries, making it perfect for summer celebrations like the Fourth of July. Easy to make and visually stunning, each slice invites you to enjoy a delightful blend of flavors while creating memories with friends and family.
- Prep Time: 20 minutes
- Cook Time: 30 minutes
- Total Time: 50 minutes
- Yield: Approximately 12 servings 1x
- Category: Dessert
- Method: Baking
- Cuisine: American
Ingredients
- 2 cups all-purpose flour
- 1 ½ cups granulated sugar
- 1 tbsp baking powder
- ½ tsp salt
- ½ cup unsalted butter, softened
- 3 large eggs
- 1 tsp vanilla extract
- 1 cup milk (or buttermilk)
- 1 tbsp red food coloring (gel)
- 1 tbsp blue food coloring (gel)
- Fresh berries for decoration (optional)
Instructions
- Preheat oven to 350°F (175°C) and grease two round cake pans.
- In a bowl, whisk together flour, baking powder, and salt.
- Cream butter and sugar in another bowl until fluffy. Add eggs one at a time, mixing well; stir in vanilla.
- Gradually mix dry ingredients with the wet mixture, alternating with milk until smooth.
- Divide batter into three bowls; leave one plain, color one red and the other blue.
- Spoon dollops of colored batters into prepared pans and swirl gently with a skewer to create marble patterns.
- Bake for 25-30 minutes until a toothpick comes out clean. Cool before serving.
Nutrition
- Serving Size: 1 slice (85g)
- Calories: 295
- Sugar: 22g
- Sodium: 180mg
- Fat: 10g
- Saturated Fat: 6g
- Unsaturated Fat: 4g
- Trans Fat: 0g
- Carbohydrates: 48g
- Fiber: 0g
- Protein: 4g
- Cholesterol: 70mg
Keywords: For added flavor, mix lemon zest or almond extract into the batter. Substitute vanilla frosting with cream cheese frosting for an extra tangy twist.

Leave a Comment