

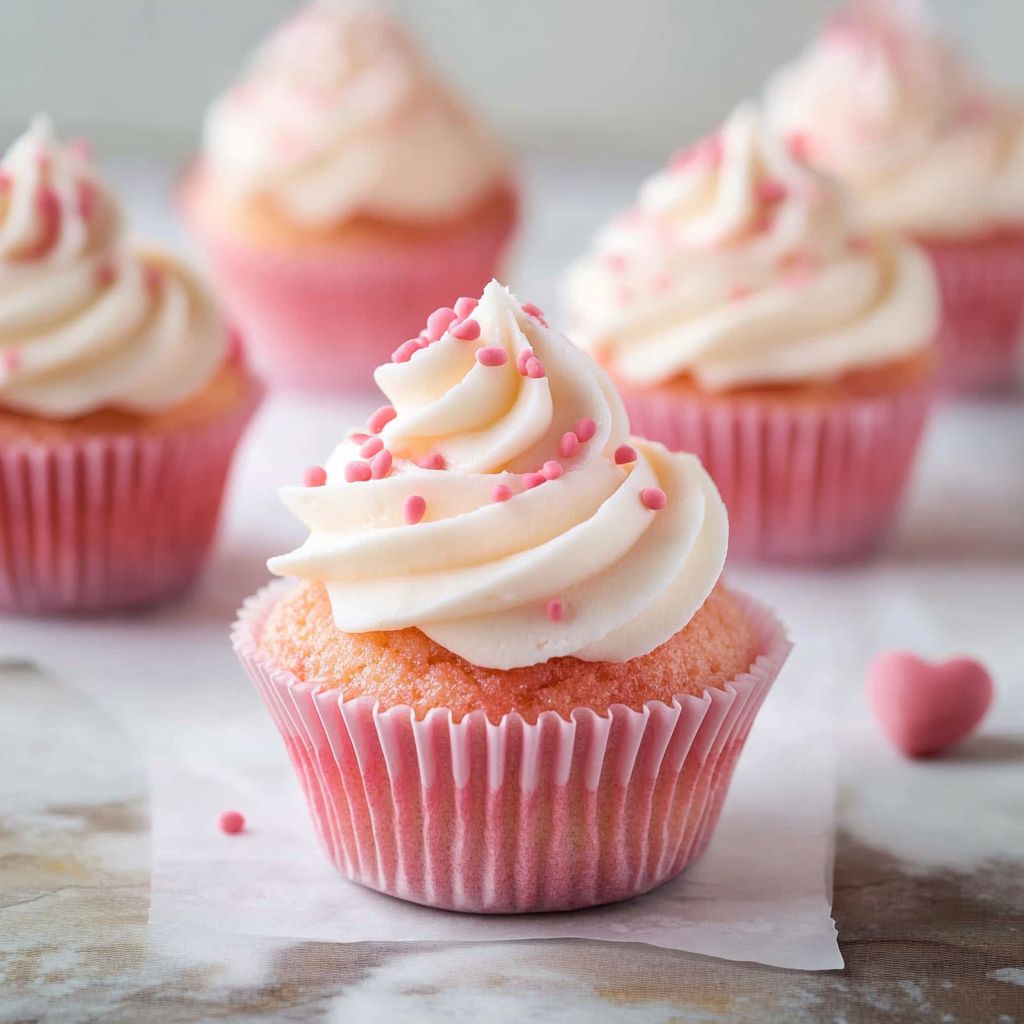
Valentine’s Day is the perfect occasion to show your love and appreciation for those special to you. This year, why not surprise them with a batch of delightful Pink Velvet Valentine’s Cupcakes? These charming treats not only look stunning but also taste incredible. The moist, tender cake features a rich pink hue that adds a touch of romance to your dessert table. Topped with luscious cream cheese frosting and adorned with heart-shaped sprinkles, these cupcakes are sure to make hearts flutter.

Main Ingredients
- 1 ½ cups all-purpose flour – Provides structure for the cupcakes.
- 1 cup granulated sugar – Adds sweetness and moisture.
- 2 tbsp unsweetened cocoa powder – Enhances flavor with subtle chocolate notes.
- 1 tsp baking powder – Helps the cupcakes rise.
- ¾ cup buttermilk – Keeps the cupcakes moist and tender.
- ½ cup vegetable oil – Ensures softness and prevents dryness.
- 2 large eggs – Bind the ingredients and add richness.
- 1 tsp pure vanilla extract – Enhances the overall flavor.
- 2 tbsp red food coloring – Creates the signature pink hue.

How to Prepare Pink Velvet Valentine’s Cupcakes
Step 1: Preheat Your Oven
Start by preheating your oven to 350°F (175°C). Preheating ensures that your cupcakes bake evenly from start to finish—this step is crucial! While waiting for your oven temperature to reach the desired heat level, prepare your cupcake pan by lining it with paper liners or greasing it lightly if you prefer not using liners.
Step 2: Combine Dry Ingredients
In a medium mixing bowl, whisk together 1 ½ cups of all-purpose flour, 2 tablespoons of unsweetened cocoa powder (sifted), and 1 teaspoon of baking powder until well combined—ensure no lumps exist! This step hydrates dry ingredients so they blend seamlessly when mixed with wet components later on.
Step 3: Mix Wet Ingredients
In another large bowl or stand mixer fitted with a paddle attachment combine 1 cup granulated sugar along with ½ cup vegetable oil until fully incorporated (about two minutes). Then add in two large eggs one at a time followed by adding in ¾ cup buttermilk alongside 1 teaspoon pure vanilla extract while continuing mixing until smooth! At this point feel free now mix-in up-to two tablespoons red food coloring gradually until achieving desired shade!
Step 4: Combine Wet & Dry Mixtures
Slowly begin adding dry ingredient mixture into wet mixture gradually as you mix on low speed until fully combined—be cautious not over-mix here! Once blended together scrape down sides using spatula ensuring no lumps remain within batter!
Step 5: Fill Cupcake Liners
Using an ice cream scoop or spoon carefully fill each prepared cupcake liner about two-thirds full—this allows space for rising without spilling over edges during baking process! Place filled pans into preheated oven allowing them bake between sixteen-to-twenty minutes or until toothpick inserted comes out clean indicating they’re done!
Step 6: Cool
Once baked take pans out from oven allowing them cool on wire racks within pans around five minutes before transferring them onto racks themselves; let cool completely before frosting!

Serving and Storing Tips
Serving Suggestions
- Garnish with heart-shaped sprinkles or edible glitter for extra flair.
- Package in decorative boxes for a charming gift.
- Pair with chocolate-dipped strawberries for an indulgent dessert platter.
Storage Guidelines
- Store in an airtight container at room temperature for up to 3 days.
- For longer storage, refrigerate for up to 1 week and let them reach room temperature before serving.
Mistakes to Avoid
- Incorrect measurements – Use a kitchen scale for accuracy.
- Overmixing – Mix until just combined to keep cupcakes soft.
- Skipping preheating – Ensures even baking and proper rise.
- Using expired ingredients – Check baking powder, baking soda, and flour freshness.
- Opening the oven too often – Avoid temperature fluctuations that cause sinking.

Tips and tricks
- Room Temperature Ingredients – Ensures smooth batter and better rise.
- Use Buttermilk – Adds moisture and a slight tangy flavor.
- Gel Food Coloring – Creates vibrant color without altering texture.
- Pipe the Frosting – Use a piping bag for a professional touch.
- Add Fun Toppings – Sprinkles or edible glitter for extra festivity.
- Cool Before Frosting – Prevents frosting from melting into a mess.

FAQs
What makes Pink Velvet Valentine’s Cupcakes different from regular red velvet?
They have less cocoa powder, resulting in a lighter pink color and milder flavor with added vanilla extract.Can I use regular milk instead of buttermilk?
Yes! Add 1 tbsp of vinegar or lemon juice to 1 cup of milk and let it sit for 5 minutes.How long do Pink Velvet Valentine’s Cupcakes last?
They last 3 days at room temperature, or up to 1 week in the fridge.Can I freeze my Pink Velvet Valentine’s Cupcakes?
Yes! Wrap them tightly and freeze for up to 2 months. Thaw in the fridge overnight.What type of frosting works best with these cupcakes?
Cream cheese frosting, vanilla buttercream, or chocolate ganache are all great choices!

Pink Velvet Valentine’s Cupcakes Recipe
- Total Time: 35 minutes
- Yield: 12 cupcakes 1x
Description
These soft, fluffy, and vibrant pink cupcakes are a perfect treat for Valentine’s Day! With a hint of cocoa, a delicate crumb, and topped with creamy frosting, these cupcakes are as charming as they are delicious.
Ingredients
For the cupcakes:
- 1 ¾ cups all-purpose flour
- ¾ cup granulated sugar
- 1 tsp baking soda
- ½ tsp baking powder
- ¼ tsp salt
- 2 tbsp unsweetened cocoa powder
- 1 large egg
- ¾ cup buttermilk
- ½ cup vegetable oil
- 1 tsp vanilla extract
- 1 tbsp red food coloring
For the frosting:
- 1 cup unsalted butter, softened
- 3 cups powdered sugar
- 2 tbsp heavy cream
- 1 tsp vanilla extract
- Pink food coloring (optional)
Instructions
- Preheat the oven to 350°F (175°C). Line a cupcake tin with paper liners.
- In a medium bowl, whisk together the flour, sugar, baking soda, baking powder, salt, and cocoa powder.
- In a separate large bowl, mix the egg, buttermilk, oil, vanilla extract, and red food coloring until smooth.
- Gradually add the dry ingredients to the wet ingredients and mix until just combined.
- Divide the batter evenly among the cupcake liners, filling each about 2/3 full.
- Bake for 18-20 minutes or until a toothpick inserted into the center comes out clean.
- Let the cupcakes cool in the tin for 5 minutes, then transfer to a wire rack to cool completely.
- For the frosting, beat the butter in a bowl until smooth and creamy. Gradually add the powdered sugar, then add the heavy cream and vanilla extract. Mix until fluffy. Add pink food coloring if desired.
- Frost the cool
Notes
- Use gel food coloring for a more vibrant color without affecting the texture.
- These cupcakes can be made a day ahead and stored in an airtight container.
- For extra flavor, add a small amount of almond extract to the frosting.
- Prep Time: 15 minutes
- Cook Time: 20 minutes


