Introduction and Quick Summary
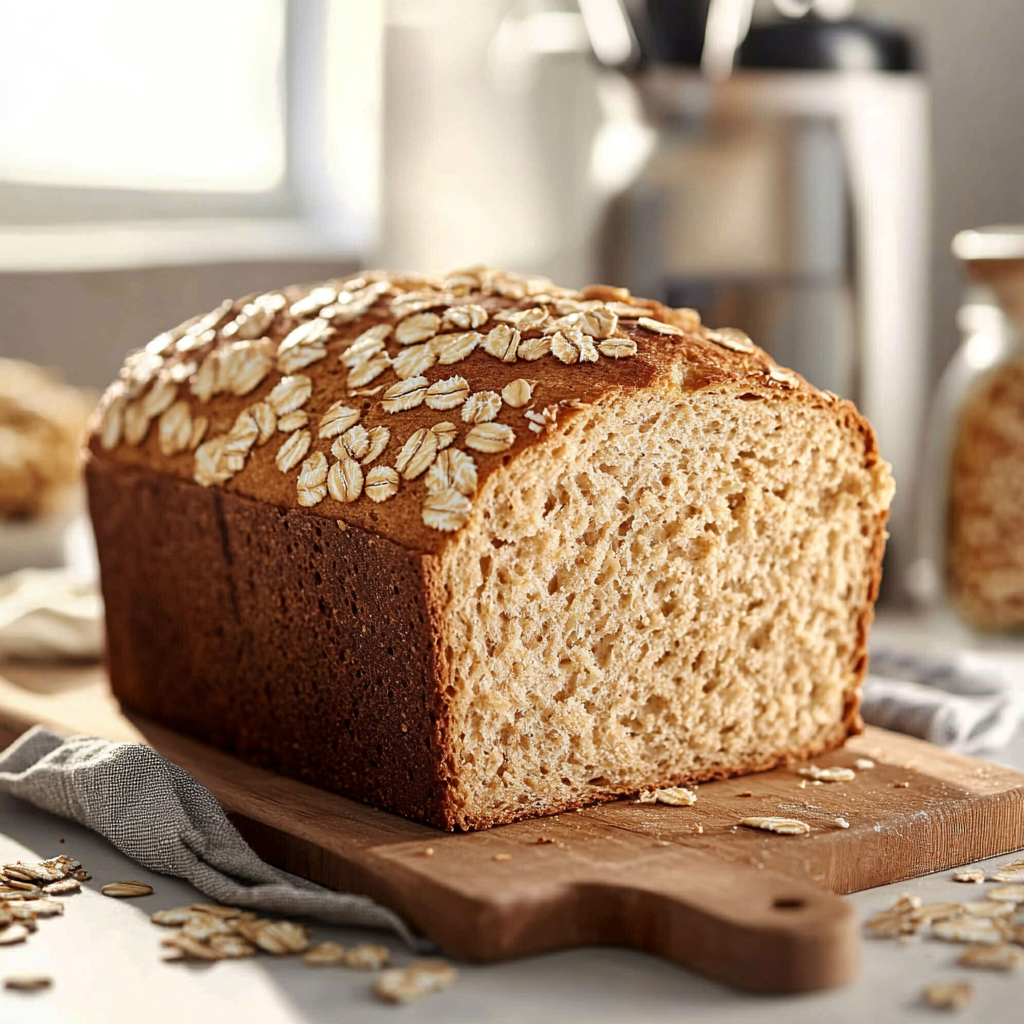
Oatmeal bread is a wholesome and delicious alternative to traditional wheat bread. This recipe presents an easy way to incorporate oats into your diet while enjoying a delightful loaf of freshly baked bread. The texture is soft, and the flavor is subtly nutty, making it perfect for sandwiches or as a side with soups and salads. Whether you’re looking for healthier options for breakfast or want to try your hand at home baking, this oatmeal bread recipe caters to all aspects.
The use of oats not only enhances the nutritional value but also adds fiber that can help keep you full longer. Plus, the aroma of baking bread will fill your kitchen with warmth that no store-bought loaf can replicate. In this article, we will guide you through each step of creating your own oatmeal bread from scratch. With simple instructions and accessible ingredients, you’ll soon be on your way to enjoying warm slices of homemade goodness.
This recipe is designed for both novice bakers and experienced ones who want a quick yet satisfying project. So grab your apron and let’s get started on this easy oatmeal bread journey!
Main Ingredients
Oats
Oats are the star ingredient in this recipe. You’ll need about 2 cups of rolled oats. They provide a hearty texture and are loaded with nutrients such as fiber, protein, and essential vitamins. Rolled oats are preferred because they cook faster than steel-cut oats, ensuring an even mixture throughout the dough.
All-Purpose Flour
You will require approximately 3 cups of all-purpose flour for structure in your oatmeal bread. This flour helps create a soft yet sturdy loaf that holds its shape during baking. If you prefer a healthier option, consider using whole wheat flour instead—though this may alter the texture slightly.
Yeast
To achieve that lovely rise in your bread, you’ll need 2 teaspoons of active dry yeast. Yeast is crucial as it ferments the sugars in the dough and produces carbon dioxide—this process creates air pockets that result in a light texture.
Warm Water
Using 1 ½ cups of warm water (about 110°F) helps activate the yeast effectively. The warmth allows the yeast to thrive, ensuring your dough rises well during fermentation.
Honey
Adding 2 tablespoons of honey not only sweetens your oatmeal bread but also acts as a natural preservative. Honey enriches the flavor profile while providing moisture to keep your loaf fresh longer.
Salt
Including 1 teaspoon of salt enhances flavor while also controlling yeast activity during fermentation. A proper balance of salt ensures that your bread tastes great without overpowering the natural flavors.
Oil
You will need about 2 tablespoons of vegetable oil or olive oil for moisture and richness in your loaf. Oil contributes to a softer crumb texture and helps extend shelf life.
How to Prepare Oatmeal Bread
Step 1: Preparing the Dough
Start by combining 1 cup of warm water with honey in a large mixing bowl. Stir until the honey dissolves completely before adding the yeast on top. Allow it to sit for approximately 5-10 minutes until it becomes frothy—this indicates that the yeast is activated and ready to work its magic.
In another bowl, mix together the rolled oats and remaining water before letting them soak for about 15 minutes. This step ensures that the oats soften adequately and blend well with other ingredients later on.
Once soaked, add the softened oats to the yeast mixture along with salt and oil. Gradually stir in all-purpose flour one cup at a time until combined into a sticky dough.
Step 2: Kneading the Dough
Transfer your dough onto a floured surface to knead it properly. Knead for about 8-10 minutes until it’s smooth and elastic; this process develops gluten which gives structure to your bread.
If you find sticking occurs during kneading, sprinkle additional flour sparingly—too much can lead to dense bread! Once kneaded sufficiently, form it into a ball before placing it into an oiled bowl covered with plastic wrap or a damp towel.
Allow it to rise in a warm area free from drafts for approximately one hour or until doubled in size—this fermentation stage is crucial!
Step 3: Shaping Your Loaf
After rising adequately, punch down on your dough lightly to release excess air before transferring back onto a floured surface. Shape it into an oval or rectangular form based on preference; then place it into greased loaf pans.
Cover again with cloths/towels allowing another rise for about thirty minutes while preheating your oven at 375°F (190°C). This second rising allows final adjustments in volume before baking begins!
Step 4: Baking Your Bread
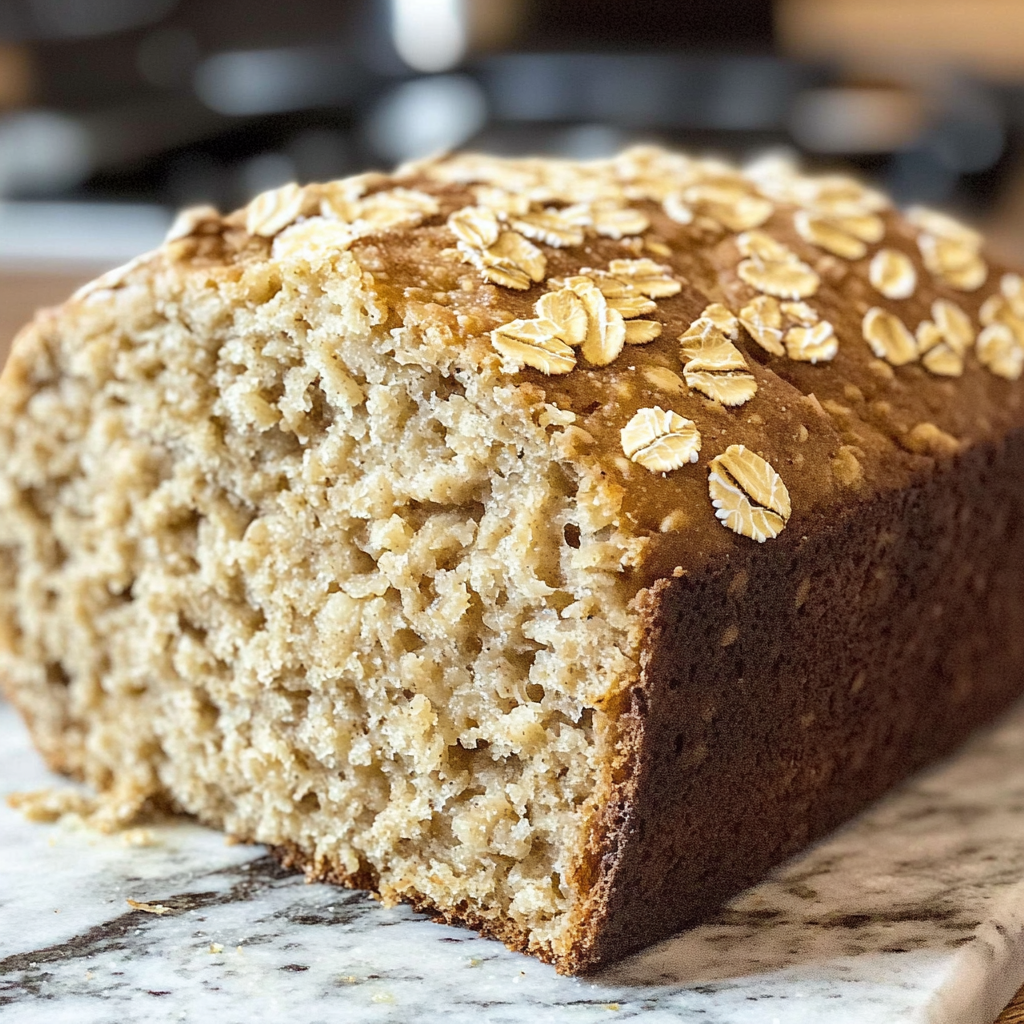
Once risen again—brush tops lightly with water or melted butter if desired—it’s time! Bake in preheated oven for roughly thirty-five minutes until golden brown atop; internal temperature should register around190°F (88°C) when done correctly!
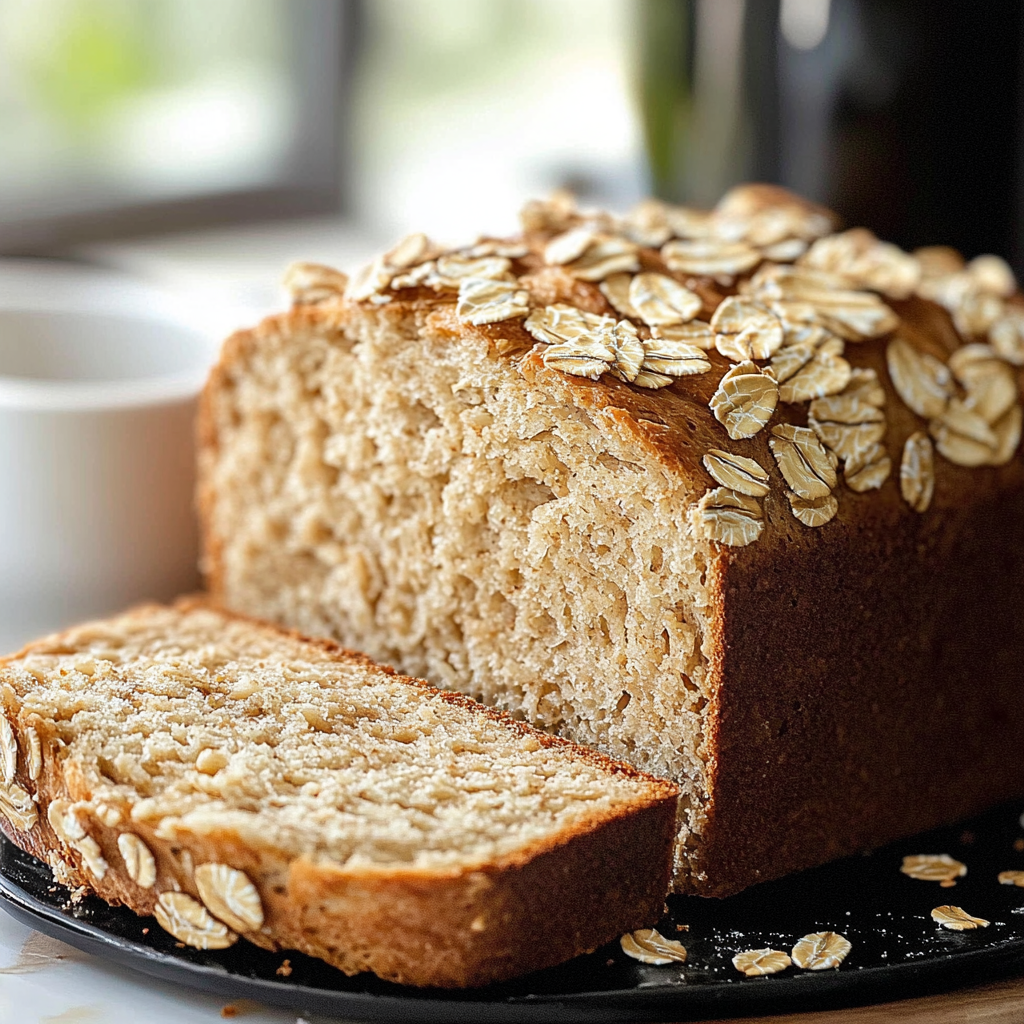
Remove from oven once baked through then let cool slightly before transferring onto wire racks where they rest fully prior slicing! Enjoy fresh slices plain or toasted alongside spreads like butter/jam—the possibilities are endless!
Serving and Storing Tips
Serving Suggestions
Oatmeal bread serves beautifully toasted as part of breakfast alongside eggs or simply spread with butter/jam! You can also use this versatile loaf for making sandwiches filled with turkey/chicken salad which pairs excellently due crunchy textures created by toasted edges!
For added flair during gatherings/parties consider serving alongside dips like hummus/guacamole; guests will appreciate flavorful surprises presented thoughtfully! Remember though—you can always enjoy alone too because nothing beats homemade goodness straight from oven!
Storing Your Bread
To maintain freshness post-baking ensure cooling completely first prior wrapping tightly within cling film/plastic wrap stored conveniently at room temperature if consumed within few days! Alternatively freeze slices individually wrapped so they remain ready-to-go whenever craving strikes; just pop them into toaster directly without thawing needed!
If storing longer than five days consider keeping sealed inside freezer-safe bags avoiding moisture building up which could potentially ruin texture upon thawing later down road! Always check expiration dates based off ingredients used when deciding how long keep stored safely too!
Mistakes to avoid
When baking oatmeal bread, several common mistakes can affect the final product. Understanding and avoiding these pitfalls will help you achieve a perfect loaf.
One major mistake is using old or expired oats. Freshness matters in baking, and stale oats can lead to a lack of flavor and poor texture. Always check the expiration date on your oats and consider purchasing them in smaller quantities to ensure freshness. Store them in an airtight container in a cool, dry place to prolong their shelf life.
Another common error is not measuring ingredients accurately. Baking is a science, and precise measurements are crucial for the right chemical reactions. Use a kitchen scale for dry ingredients and liquid measuring cups for wet ingredients. This practice ensures that your oatmeal bread rises properly and has the desired texture.
Failing to let the dough rise adequately is also a frequent mistake. Many bakers underestimate the importance of allowing the dough to proof fully before baking. This step develops flavor and texture in the bread. Keep an eye on the dough; it should double in size during rising time. If your kitchen is cold, you may need to extend this process.
Overbaking or underbaking can ruin your oatmeal bread as well. An overbaked loaf will be dry, while an underbaked one may collapse when cooled. To avoid this, always preheat your oven and use an instant-read thermometer to check for doneness; it should read around 190°F (88°C) when done.
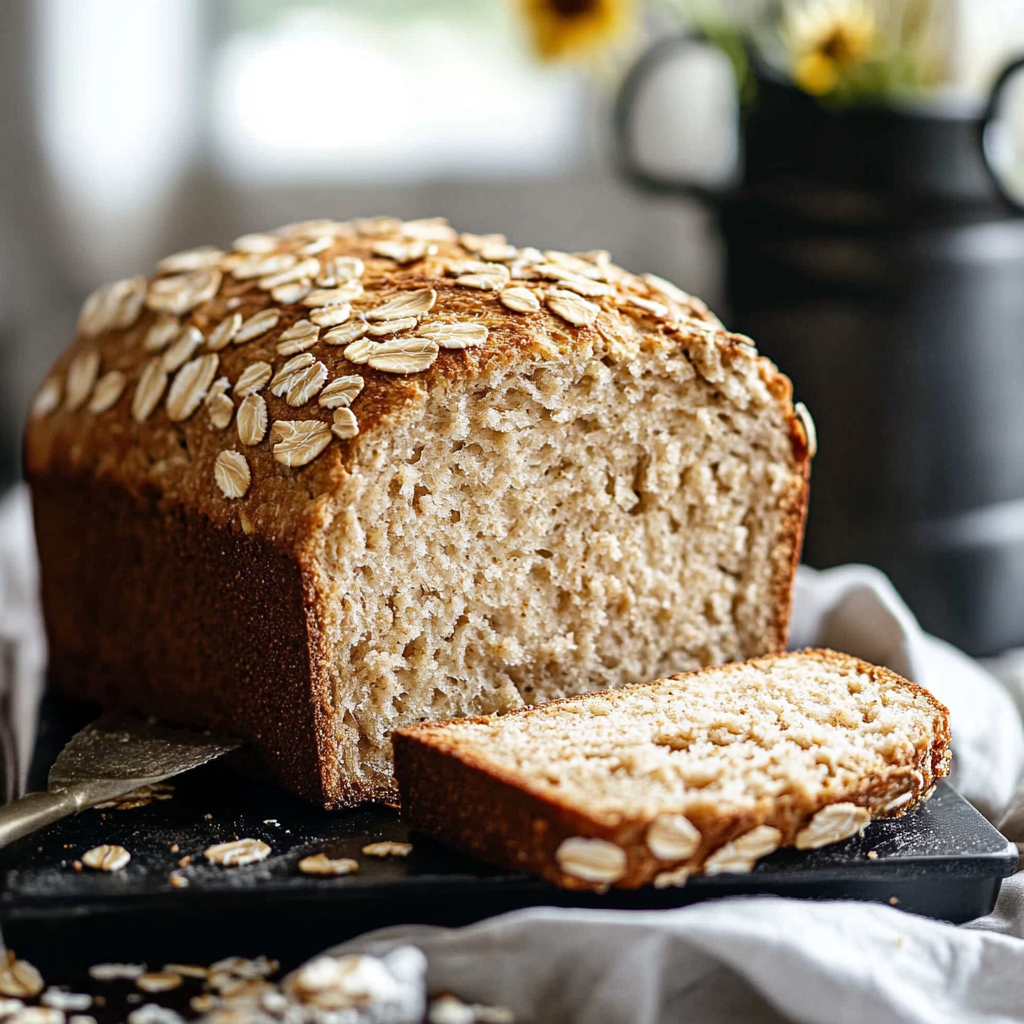
Lastly, neglecting to cool your bread completely before slicing can lead to gummy slices that fall apart easily. Allow your oatmeal bread to cool on a wire rack for at least 30 minutes before cutting into it.
Tips and tricks
To create delightful oatmeal bread, consider these helpful tips that can enhance your baking experience.
Starting with high-quality ingredients is essential for successful oatmeal bread. Choose whole rolled oats instead of quick oats for better texture and nutrition. Whole rolled oats retain more fiber and have a chewier consistency that contributes positively to the overall structure of the bread.
Another effective tip is incorporating additional flavors or nutrients into your oatmeal bread. You can add nuts, seeds, or dried fruits such as raisins or cranberries for extra taste and health benefits. These additions not only enhance flavor but also provide different textures that make each bite interesting.
Pay attention to water temperature when mixing your dough; warm water activates yeast effectively while cold water may hinder its growth. Aim for water that feels warm to the touch, around 110°F (43°C). This practice helps ensure proper fermentation during rising.
Kneading technique plays a significant role in developing gluten structure in your oatmeal bread. Knead until the dough becomes smooth and elastic—this usually takes about 5-10 minutes by hand or 3-5 minutes with a mixer fitted with a dough hook. Properly kneaded dough will rise better and yield a chewier texture.
Don’t forget about adding steam during baking! Introducing steam into your oven creates a crispy crust on your oatmeal bread. You can place a pan of hot water at the bottom of the oven or mist the sides with water just before closing the door. This trick helps achieve that bakery-style crust everyone loves.
Finally, experiment with different types of flour alongside oats for diverse flavors and textures! Combining whole wheat flour with all-purpose flour adds nuttiness while still providing structure. Each variation leads to unique outcomes that keep your baking adventures exciting.
Suggestions for oatmeal bread
When making oatmeal bread, it’s important to consider various factors that can influence its quality and taste.
First, try using different types of sweeteners if you want to adjust flavor profiles in your oatmeal bread recipe. Honey, maple syrup, or agave nectar can replace sugar for natural sweetness without being overly processed. These alternatives not only sweeten but also impart unique flavors that complement oats beautifully.
Additionally, consider adding spices such as cinnamon or nutmeg for warmth and depth of flavor in your oatmeal bread mix. These spices elevate taste profiles significantly without overwhelming them—just remember moderation is key! A teaspoon or so should suffice depending on personal preference.
If you’re looking for healthier options, explore adding whole grains like quinoa or millet into your dough mix alongside oats. These grains provide extra nutrients while also enhancing texture; they create more hearty loaves filled with protein-rich goodness!
Experimenting with different liquids can make a difference too; alternative milks like almond or coconut milk bring distinct flavors into play while keeping dairy-free diets satisfied! Adjust liquid amounts depending on how thick or thin you desire the consistency of your batter—this flexibility allows creativity during preparation!
Lastly, consider trying overnight soaking methods where oats sit submerged in liquid overnight prior to mixing them into dough—this technique helps soften them further leading towards better hydration levels resulting from longer absorption times!
FAQs
What are the health benefits of oatmeal bread?
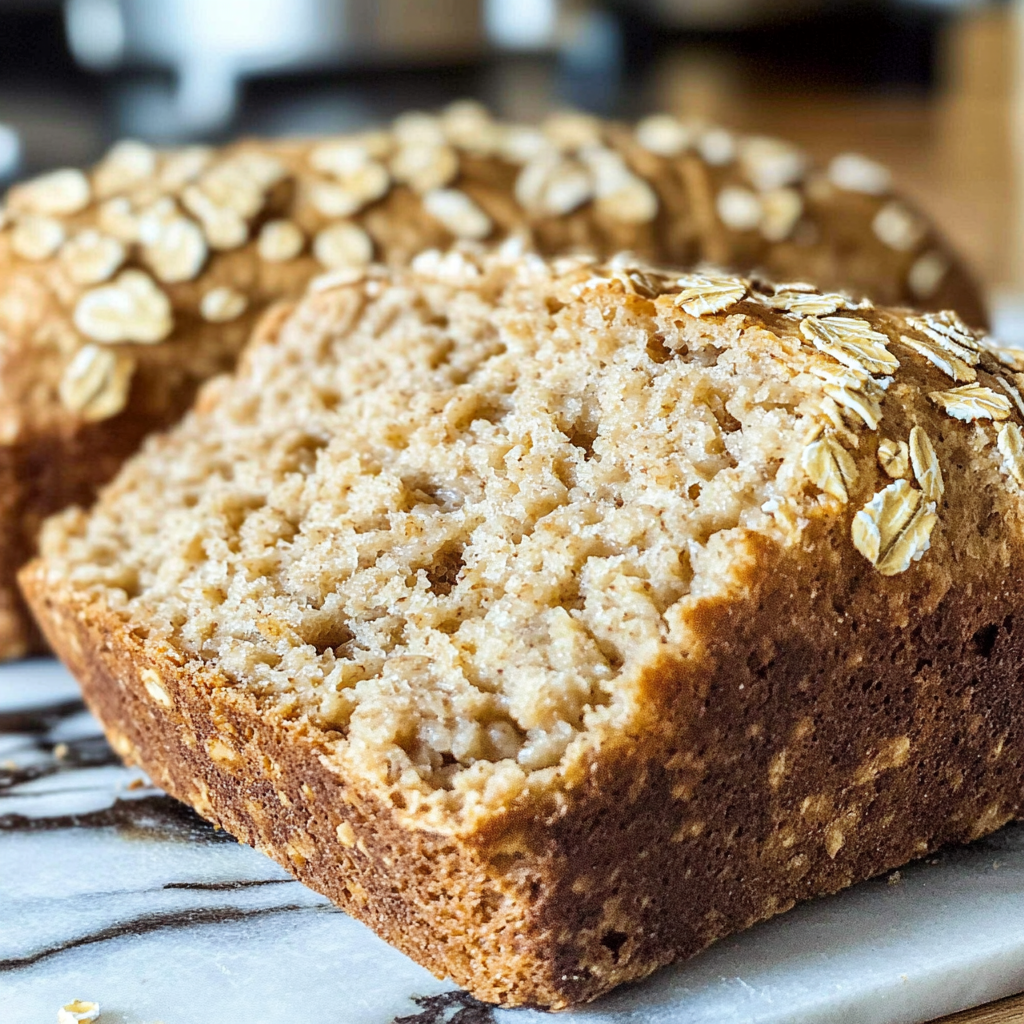
Oatmeal bread offers numerous health benefits due to its primary ingredient: oats. Oats are rich in dietary fiber, particularly beta-glucans which help lower cholesterol levels, regulate blood sugar levels, and promote heart health. Consuming oatmeal regularly may also aid digestion by supporting gut health as fiber promotes regularity.
Additionally, oatmeal contains essential vitamins and minerals such as B vitamins (thiamin), magnesium, phosphorus, iron, zinc along with antioxidants – all contributing positively towards maintaining overall wellness! Furthermore, substituting white flour with oat-based options increases nutrient density leading towards enhanced satiety levels aiding weight management efforts effectively!
Can I make vegan oatmeal bread?
Absolutely! Making vegan oatmeal bread is straightforward by replacing animal-based products with plant-based alternatives without compromising taste or texture! Instead of eggs used traditionally for binding purposes within conventional recipes – opt-in using mashed bananas or applesauce which work wonders here!
Moreover substitute dairy milk with almond milk or soy milk ensuring gluten-free options are considered if necessary too – many variations exist catering specifically towards dietary restrictions making this versatile recipe adaptable across various lifestyles!
How do I store leftover oatmeal bread?
Storing leftover oatmeal bread properly helps maintain freshness over time! Once completely cooled down after baking – slice it into individual portions wrapping tightly either in plastic wrap or aluminum foil before placing inside an airtight container—this method prevents moisture loss retaining softness throughout storage duration!
Alternatively freezing slices allows longer-term preservation; simply place wrapped slices within freezer-safe bags removing excess air prior sealing shut! Thaw overnight before enjoying fresh again—quick reheat options exist too whether through toaster ovens microwaves yielding warm delicious results just like freshly baked loaves!
Why did my oatmeal bread not rise?
Several factors could contribute toward failure during rising stages while making homemade breads like oat varieties! Common causes include using expired yeast which loses potency over time failing nitrogen gas production necessary during fermentation phase leading towards insufficient volume gain within baked goods ultimately resulting flat loaves not meeting expectations sadly!
Another factor might be inadequate kneading preventing gluten development crucial component forming structure ensuring proper airy lightness expected within finished products—a thorough knead session typically ranging between five-ten minutes sufficient enough achieving desired elasticity without overworking dough prematurely risking dense outcomes!
Can I add seeds or nuts into my oatmeal bread?
Yes indeed! Adding seeds such as flaxseed chia seed sunflower seeds pumpkin seeds walnuts pecans enhances nutritional profile boosting healthy fats protein content giving added crunchiness delightful textural contrast bite wise too—it’s entirely up-to personal preferences allowing creative freedom customizing baked goods based upon individual tastes needs dietary requirements easily achieved through experimentation fun alongside traditional recipes!
What type of oats should I use for making oatmeal bread?
When choosing oats best suited towards preparing delicious wholesome loaves look no further than rolled oats—their thicker nature provides beneficial chewiness complements overall structure nicely compared quicker cooking varieties available out there too! Steel-cut varieties offer even denser versions though require longer cook times likely resulting varied textures depending on preference allowing further exploration experimenting both kinds discovering favorite combinations suited palate needs finding perfect match creating delicious nourishment daily basis happy baking journeys ahead await anyone attempting recipes includes those nutritious grains inside their creations today!
Conclusion
Baking delicious oatmeal bread requires careful attention to detail throughout every step of preparation—from ingredient selection down through techniques implemented ensuring success along way awaits eager bakers ready tackle challenges involved head-on fearlessly taking risks testing boundaries expanding horizons culinary delights produced warm comforting loaves shared loved ones homes alike across kitchens everywhere bringing joy satisfaction fulfilling appetites nourishing souls daily lives enriching experiences surrounding meals shared together fondly reminiscing moments cherished forever lasting memories created within those simple acts kindness love spread generously freely shared among friends family alike loving warmth felt whenever breaking fresh-baked slices warm inviting fragrances wafting invitingly throughout spaces filled laughter smiles all around brightening days ahead inspiring next ventures culinary creativity unleashed freely enjoyed endlessly celebrating flavors joyfully savored each bite taken relish good food brings communities closer together creating bonds cherished last lifetimes full abundance happiness found simplest pleasures enjoyed often shared generously amongst all cooking together creating joyful experiences enriching lives something truly special indeed worth celebrating every single day exploring limitless possibilities provided through wonderful world baking sharing love one slice at time.
Print
oatmeal bread
- Author: Sofia
- Total Time: 50 minutes
- Yield: 1 loaf 1x
Description
This hearty and wholesome oatmeal bread is soft, slightly sweet, and filled with the natural goodness of oats. Perfect for sandwiches, toast, or simply enjoying with a pat of butter, it’s a nutritious and comforting bread for any meal.
Ingredients
- 1 ½ cups rolled oats
- 1 ½ cups warm water
- 2 tbsp honey or maple syrup
- 1 ¼ tsp active dry yeast
- 1 ½ cups whole wheat flour
- 1 ½ cups all-purpose flour
- 1 tsp salt
- 2 tbsp olive oil or vegetable oil
- 1 tbsp apple cider vinegar (optional, for fluffiness)
Instructions
- In a small bowl, combine the oats and warm water. Let them sit for 10-15 minutes until the oats soften.
- In a separate bowl, dissolve the honey (or maple syrup) in the warm water and sprinkle the yeast over the top. Let it sit for about 5 minutes, or until frothy.
- In a large mixing bowl, combine the whole wheat flour, all-purpose flour, and salt.
- Add the yeast mixture and softened oats to the flour mixture, followed by the olive oil and apple cider vinegar (if using). Stir until everything is well combined.
- Knead the dough on a lightly floured surface for about 8-10 minutes until smooth and elastic. If the dough is sticky, add a little more flour, a tablespoon at a time.
- Place the dough in a lightly oiled bowl and cover with a damp cloth. Let it rise for 1-1.5 hours, or until it has doubled in size.
- Preheat the oven to 350°F (175°C) and grease a 9×5-inch loaf pan.
- Punch down the dough and transfer it to the prepared pan. Shape it to fit and smooth the top.
- Bake for 30-35 minutes, or until the bread is golden brown and sounds hollow when tapped on the bottom.
- Let the bread cool in the pan for 5 minutes, then transfer to a wire rack to cool completely before slicing.
Notes
- For a slightly sweeter bread, increase the honey or maple syrup to 3 tablespoons.
- If you want a denser bread, replace part of the all-purpose flour with whole wheat flour.
- Store the bread at room temperature in an airtight container for up to 3 days, or freeze for longer storage.
- Prep Time: 15 minutes
- Cook Time: 35 minutes


